Installing WordPress manually on a VPS hosting using a file manager involves a few key steps. This method is useful if you don’t have access to Softaculous or other auto-installers and prefer to do it manually. Here’s a step-by-step guide:
1. Prepare Your VPS
- Access Your VPS Control Panel: Log in to your VPS control panel (e.g., cPanel, Plesk) using the URL provided by your hosting provider.
- Set Up Your Domain: Ensure that your domain is pointed to your VPS. This usually involves updating DNS settings with your domain registrar.
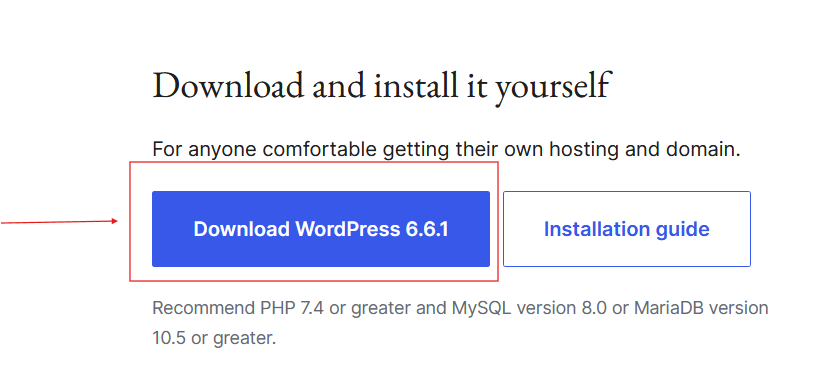
2. Download WordPress
- Download WordPress: Go to the official WordPress website and download the latest version of WordPress as a
.zipfile.Upload WordPress to Your VPS:
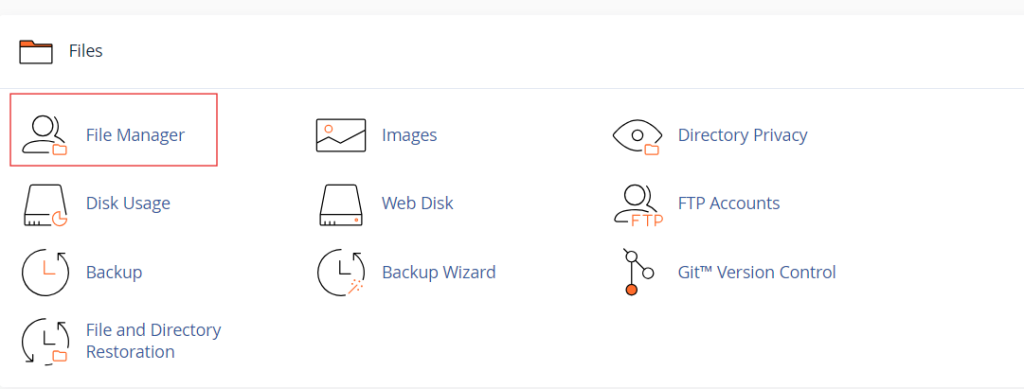
Step 2 – Upload WordPress to VPS.
- Open File Manager: In your VPS control panel, navigate to the File Manager.
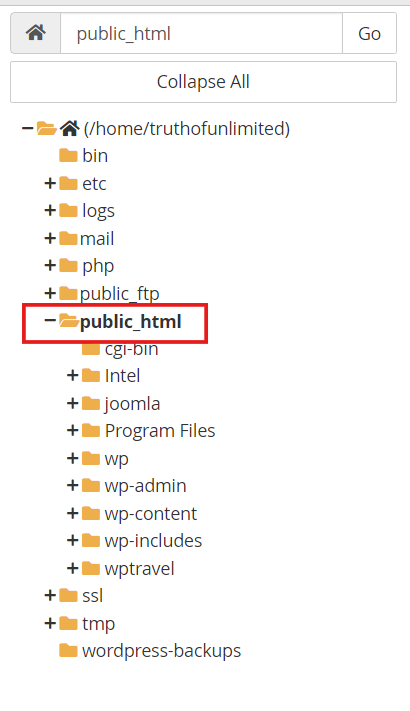
- Navigate to the Web Root Directory: Typically, this is
public_htmlor a similar directory where your domain points. - Upload the WordPress .zip File: Use the upload feature to upload the WordPress
.zipfile to the web root directory.
Now, proceed to the public_html directory and click on the same.
3. Extract WordPress Files
- Extract the Archive:
- Locate the .zip File: Find the uploaded WordPress
.zipfile in your File Manager. - Extract: Use the extract feature in your File Manager to unzip the WordPress files. This will create a folder named
wordpress.
- Locate the .zip File: Find the uploaded WordPress

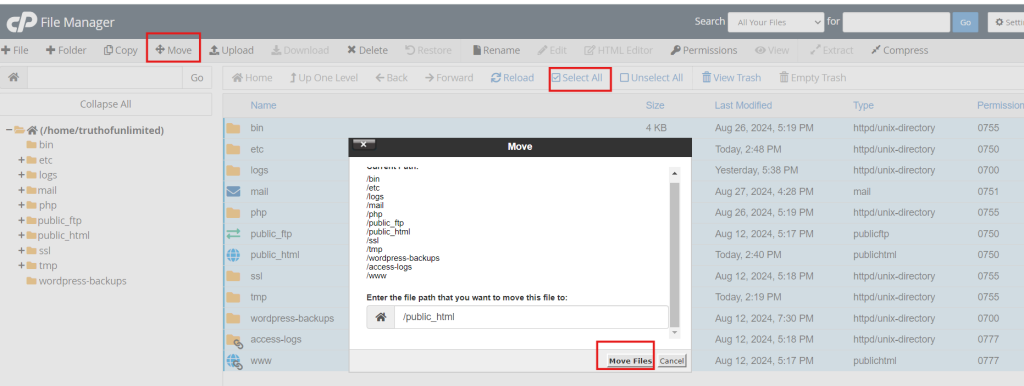
Move WordPress Files:
- Move Files: If you want WordPress installed in the root directory, move all files from the
wordpressfolder to the root directory. If you want WordPress in a subdirectory, move the files to the desired subdirectory.
Delete the .zip File: After extraction and moving files, delete the original .zip file to keep things tidy.
4. Create a MySQL Database
Navigate to MySQL Databases:
- In the cPanel dashboard, locate the Databases section.
- Click on MySQL Databases.
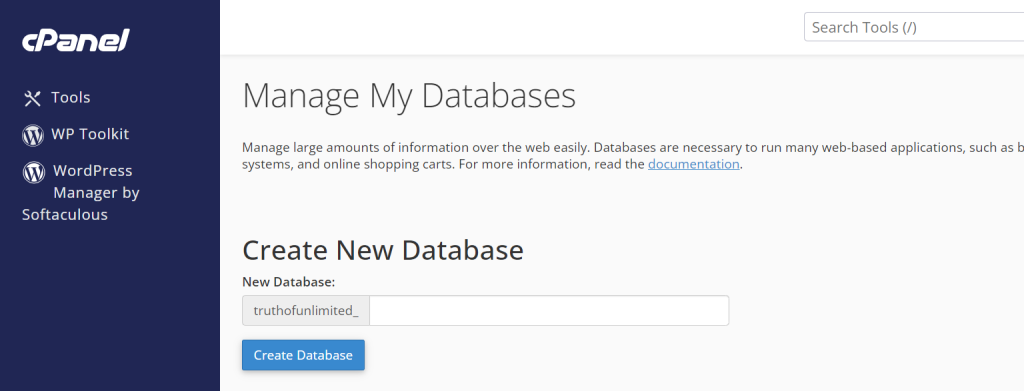
Create a New Database:
- Under the Create New Database section, enter a name for your database (e.g.,
wordpress_db). - Click Create Database.
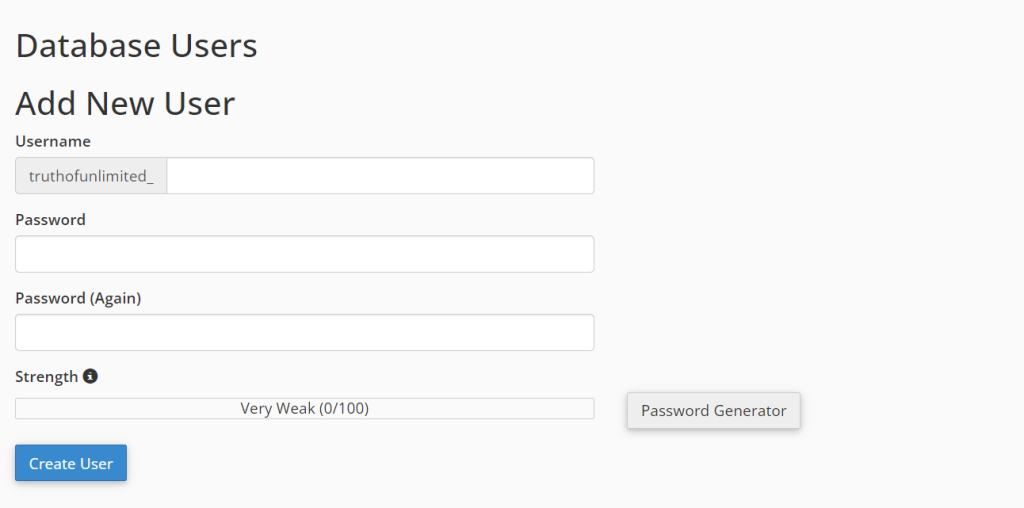
Create a Database User:
- Scroll down to the MySQL Users section.
- Enter a username and password for the new user (e.g.,
wordpress_userandyour_password). - Click Create User.
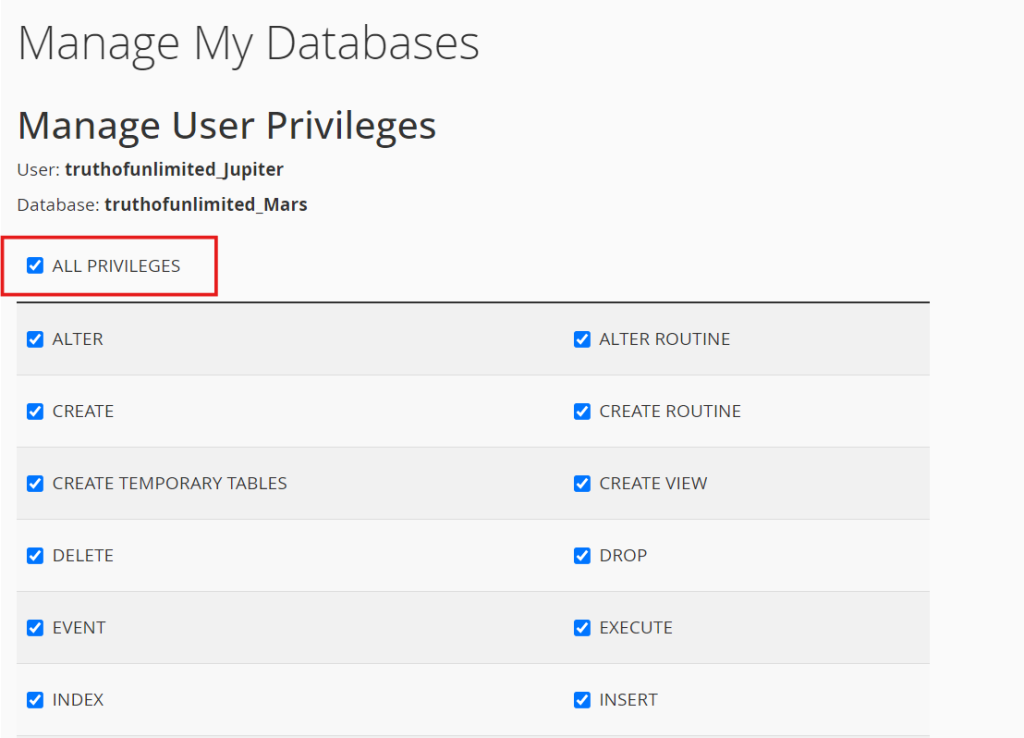
Add User to Database:
- Go back to the MySQL Databases section.
- Under Add User to Database, select the user and database you created.
- Click Add.
- On the next screen, select All Privileges to grant the necessary permissions, then click Make Changes.
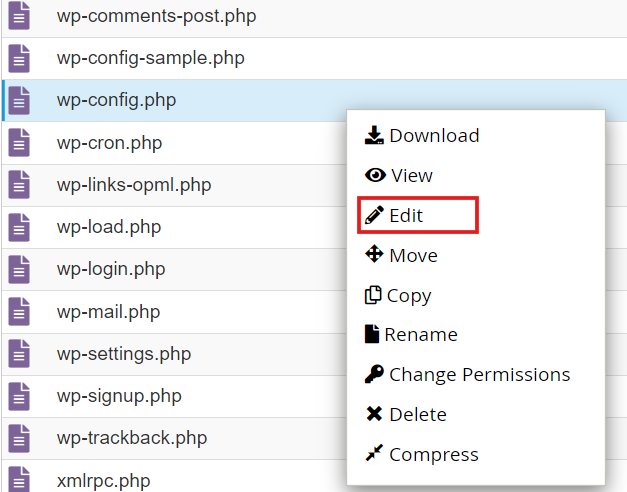
Step 5 – Edit the wp-config-sample.php
- Access the public_html directory and
- select the wp-config-sample.php file.
- Now, right-click on the file and choose the edit option.
Enter Database Information:
- On the database configuration screen, enter the following details:
- Database Name: The name you created (e.g.,
wordpress_db). - Username: The database user you created (e.g.,
wordpress_user). - Password: The password for the database user.
- Database Host: Typically
localhost.
- Database Name: The name you created (e.g.,
Run the Installation:
- Click Run the Installation.
- On the next screen, provide the following information for your WordPress site:
- Site Title: The name of your website.
- Username: This is the admin username you will use to log in to WordPress.
- Password: Choose a strong password.
- Your Email Address: For notifications and password recovery.
- Click Install WordPress.
Log In to WordPress:
- After the installation completes, you will see a success message.
- Click Log In.
- Enter the admin username and password you created to access the WordPress dashboard.
Using a control panel like cPanel simplifies the installation and management of WordPress on your VPS Hosting, avoiding the need for command-line interactions. If you use a different control panel like Plesk or DirectAdmin, the steps will be similar, with some variations in the interface and terminology.